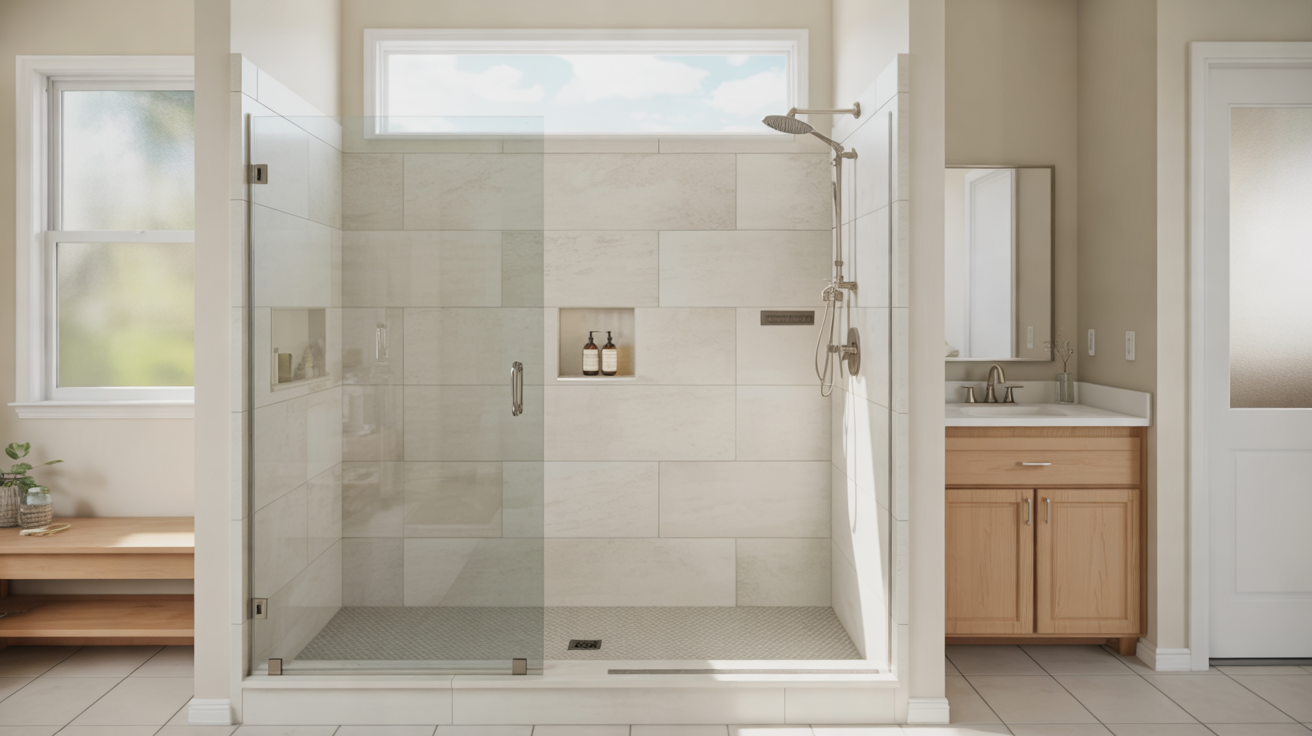
Why Shower Replacement Problems Happen
Replacing a shower seems simple on the surface, but there is a lot happening behind the walls and under the pan. Small mistakes during planning or installation can lead to leaks, mold, loose tiles, or drains that back up. Professional installers focus on hidden details most homeowners never see, which is why many “mystery problems” show up months after a rushed or DIY job.
This page walks through the most common shower replacement problems, how a qualified pro fixes them, and what you can do as a homeowner to avoid headaches, added costs, and repeat work.
1. Leaks Around the Shower Pan or Door
Water escaping the shower is one of the most common issues after a replacement. It usually shows up as wet baseboards, soft drywall, or puddles on the bathroom floor.
Typical causes
- Improperly set shower pan or base that is not level
- Missing or poorly installed waterproof membrane at the floor and curb
- Incorrect or failing caulk along seams and corners
- Shower door not aligned or sealed correctly
How pros fix it
- Leveling and setting the pan: Installers use shims or a mortar bed so the pan sits solid and level, preventing water from pooling and escaping.
- Proper waterproofing: A pro ties the pan into a continuous waterproof system (liner, membrane, or factory-integrated base) that directs all water to the drain.
- High-quality sealants: They use bathroom-rated silicone and apply it in the right places—while also knowing where not to seal, so the system can drain if needed.
- Door adjustments: Hinges, tracks, and sweeps are fine-tuned to close gaps and guide water back inside the shower.
If you are comparing contractors, ask them about their waterproofing steps. You can find more questions to ask on the Checklist: Questions to Ask Before Booking a Shower Replacement page.
2. Poor Drainage and Standing Water
Another frequent complaint after a shower replacement is water that refuses to drain. You might notice puddles in the corners, a slippery film that does not rinse away, or a floor that takes forever to dry.
Typical causes
- Shower floor not sloped correctly toward the drain
- Drain body installed too high or too low
- Old or undersized drain lines not upgraded during replacement
- Debris in the drain from construction
How pros fix it
- Correct slope: For tiled bases, pros float the shower floor with the proper pitch so water naturally moves to the drain. For prefab pans, they ensure the base is installed level so the molded slope works as designed.
- Proper drain height and seal: The drain is set at the right height and connected with a watertight seal to the pan and plumbing.
- Plumbing upgrades: When needed, installers coordinate with a plumber to resize or reposition drain lines to handle the flow of modern shower systems.
- Thorough cleanout: At the end of the project, they clear debris so the drain runs freely from day one.
If you are planning updates to your plumbing at the same time, see Shower Drain and Plumbing Upgrades to Do During Replacement.
3. Cracked Grout, Loose Tile, and Moldy Corners
Tile showers look great, but poor installation can lead to cracks, loose tiles, mildew-stained grout, and even hidden water damage behind the walls.
Typical causes
- No waterproof backer board or membrane behind the tile
- Using the wrong type of grout or thinset
- Movement in the walls or framing that stresses the tile
- Not sealing grout or ignoring regular maintenance
How pros fix it
- Solid backing: Pros install cement board or other approved backer, plus a waterproofing system, before a single tile goes up.
- Flexible joints in the right places: They use caulk (not grout) at corners and changes of plane so the shower can flex without cracking.
- Appropriate materials: Installers match grout type to the project (sanded, unsanded, or epoxy) and use quality thinset suitable for wet areas.
- Attention to layout: Correct tile layout, spacing, and cuts reduce weak spots where cracks usually begin.
If you prefer lower-maintenance walls, you can compare options on Shower Wall Surrounds: Solid Surface, Panels and Tile Compared and Low-Maintenance Shower Materials That Resist Mold and Mildew.
4. Water Pressure, Temperature, and Fixture Issues
After a replacement, some homeowners find the water pressure feels weak, temperature is hard to control, or new fixtures do not perform as expected.
Typical causes
- Mismatched or low-quality valves and fixtures
- Improperly balanced hot and cold lines
- Reduced flow due to debris from installation inside supply lines
- Not planning for multiple shower heads or body sprays
How pros fix it
- Valve and fixture selection: Pros recommend compatible systems and pressure-balancing or thermostatic valves for steady, safe temperatures.
- Correct rough-in work: They follow manufacturer specifications for pipe sizing, depth, and layout, which has a big impact on performance.
- System flushing: At the end of the job, lines are flushed to remove debris before final trim and shower heads go on.
To explore different system types, see Types of Shower Systems: Walk-In, Alcove, Corner and More and Luxury Shower Features: Rainfall Heads, Body Jets and Built-In Niches.
5. Slippery Floors and Safety Concerns
Even a well-installed shower can be unsafe if the floor is slick or there is nothing to hold on to. This is especially risky for older adults, children, or anyone with limited mobility.
Typical causes
- Glossy tile or smooth acrylic without texture
- Lack of grab bars, seating, or hand-held showers
- Thresholds that are too high, making entry and exit difficult
How pros fix it
- Non-slip flooring: Recommending textured pans, slip-resistant tile, or coatings designed for wet areas.
- Built-in or added safety features: Properly blocking walls and installing grab bars, seats, and right-height controls.
- Walk-in designs: Converting older tub-shower units into low-threshold or walk-in showers.
Learn more on Non-Slip Shower Flooring Options for Safer Bathrooms and Senior-Friendly Shower Upgrades: Grab Bars, Seating and Non-Slip Floors.
6. Ventilation, Lighting, and Moisture Problems
Foggy mirrors, peeling paint, and persistent mildew are signs that a bathroom is not venting moisture well enough. Replacing the shower is a perfect time to address these issues, but they are often overlooked.
Typical causes
- Undersized or clogged exhaust fan
- No timer or humidity control on the fan
- Dark shower area without proper lighting, encouraging mold growth
How pros fix it
- Fan upgrades: Replacing or adding an exhaust fan sized for the room and vented correctly to the outside.
- Better lighting: Installing recessed or moisture-rated fixtures to brighten the shower and improve safety.
- Moisture-aware design: Choosing materials and layouts that dry quickly and are easier to clean.
For more on these upgrades, visit Shower Lighting and Ventilation Upgrades During Replacement.
7. Scheduling, Cost Overruns, and Project Delays
Not all shower replacement problems are technical. Some are about planning and communication—projects that drag on, surprise costs, or changes you did not expect.
Typical causes
- Hidden issues behind walls, like rot or outdated plumbing
- Unclear scope of work in the contract
- Product backorders or last-minute design changes
How pros handle it
- Thorough inspection first: Pros look for signs of damage or code issues before they quote, and explain what might come up during demo.
- Clear scope and allowances: A detailed proposal spells out what is included, what is not, and how changes will be handled.
- Realistic timelines: Installers schedule demo, rough-in, inspections, and finish work with buffer time for the unexpected.
To understand timelines, warranties, and budget planning, see Shower Replacement FAQs: Timelines, Warranties and Maintenance, Shower Replacement Cost Guide: Pricing Breakdown and Budget Tips, and Shower Remodel Financing Options and Payment Plans.
How to Avoid These Problems on Your Project
While no project is completely risk-free, you can dramatically reduce the chance of shower replacement problems with a few smart steps.
Before you start
- Use the pre-project checklist to interview and compare contractors.
- Decide whether you want tile, acrylic, or other surrounds using Tile vs Acrylic Showers: Which Is Better for Your Bathroom?
- Plan for safety, storage, and access by reading Walk-In Shower Replacement: Safety, Accessibility and Style and Family-Friendly Shower Designs for Busy Households.
During the project
- Confirm how your installer waterproofs the shower and ties into the drain.
- Walk through the layout (niches, valves, doors) before walls are closed.
- Ask for a quick demonstration of all fixtures before final payment.
After completion
- Follow care tips from How to Clean and Maintain Your New Shower for Long-Lasting Results.
- Keep paperwork from your installer and manufacturer; for guidance, see Shower Replacement Warranties and What They Really Cover.
FAQs About Common Shower Replacement Problems
How soon do most issues show up after a shower replacement?
Some problems, like leaks or poor drainage, can appear within days or weeks. Others, such as mold behind walls or soft spots in the floor, may take months. This is why proper waterproofing and inspection during installation are so important.
Can small leaks really cause major damage?
Yes. Even slow, occasional leaks can lead to rotted subfloors, damaged framing, and mold growth. If you see recurring damp spots, loose tiles, or musty odors, it is worth having a professional evaluate the shower before the damage spreads.
Is it worth trying to fix these problems myself?
Minor issues like replacing a worn door sweep or re-caulking a seam can sometimes be DIY. Problems involving structural damage, plumbing, or hidden leaks are better handled by a pro. For more context on what is realistic to do yourself, see DIY vs Professional Shower Replacement: Risks, Costs and Results.
How do I know if my contractor did the waterproofing correctly?
You can ask them to walk you through the steps they took before tile or wall panels went up and what materials they used. If issues arise later, an experienced company should be willing to inspect their work and explain your options.
Where can I learn more before starting my project?
The blog covers many aspects of planning, budgeting, and maintaining a new shower, including topics like One-Day Shower Replacement: Is It Worth It? and Budget Shower Upgrades: Affordable Ways to Refresh Your Shower.